
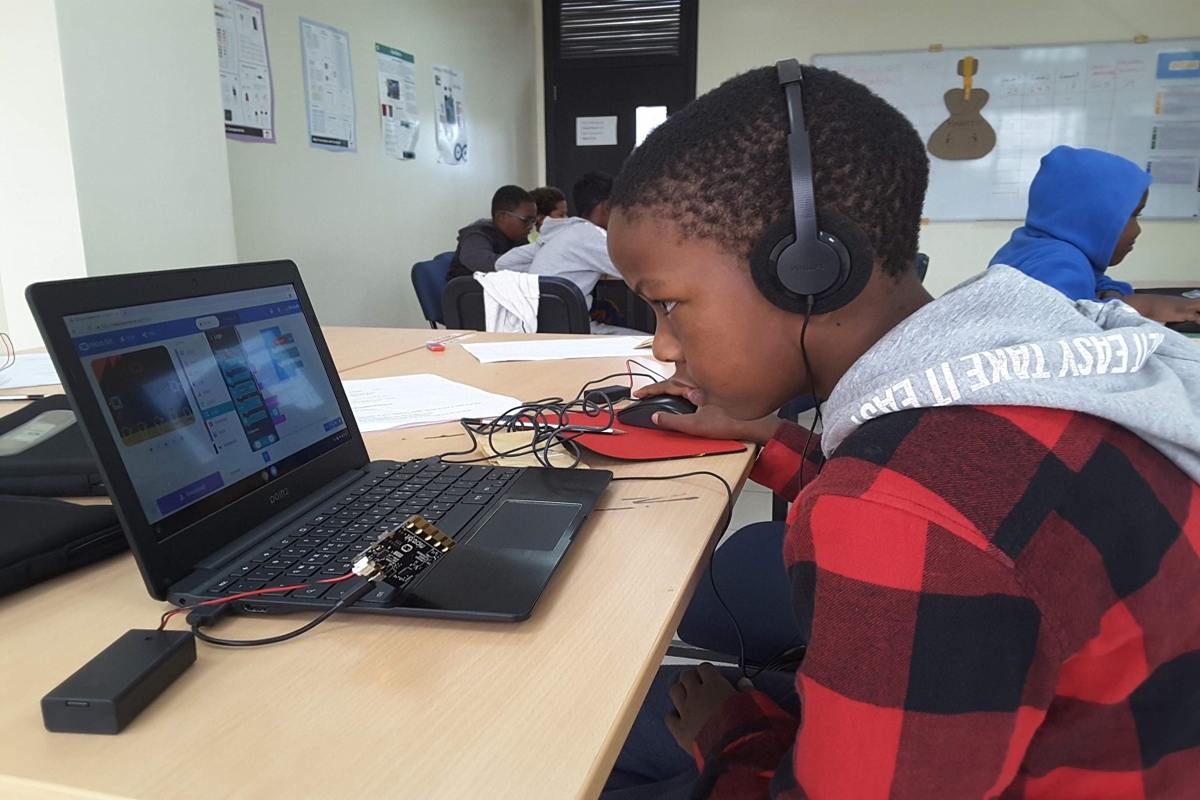
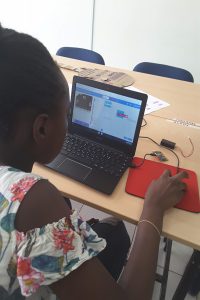
A micro:bit is a pocket-sized, open source hardware computer in which students code on the laptop and transfer to see live outcome.
Did you know that you can code for your micro:bit to enable it to read the temperature and Compass (direction) of your surroundings? Check out how Tinker students achieved this!
Temperature sensor
Step 1
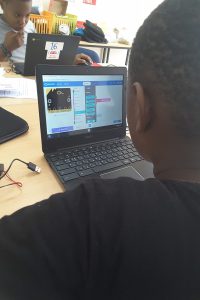
The micro:bit coding platform is block-based, and works simply by dragging and dropping the block codes to write a simple script, from which students arranged the blocks in a top to bottom in order to complete their mission.
Step 2
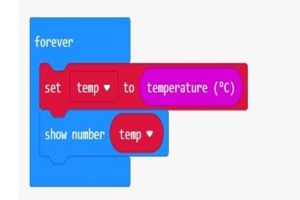
Students used the “temperature” and “show number” block to show the temperature of the room.
Step 3
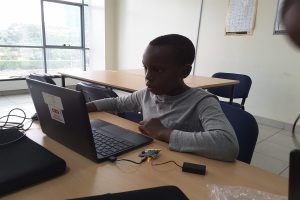
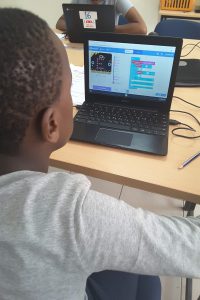
Once they entered their program, they attach the micro:bit chip on the computer using a USB cable. This enables them to transfer their code to the open source micro:bit, so as to see the temperature on the micro:bit screen.
Compass
Step 1
Students also showed the four directions of a compass on micro:bit.
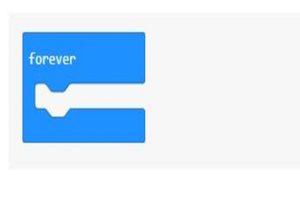
They achieved this by creating a loop using the “forever” block on micro:bit, that continuously updated the reading of the compass on the micro:bit screen.
Step 2
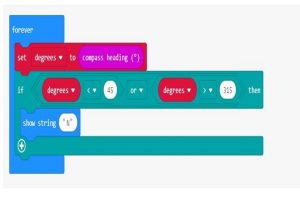
They stored the reading of the compass is in a variable called “degrees”. Students then set out conditions using if/then/else statements to determine the degrees. See examples below:
- If degrees are less than 45 or greater than 315, then the compass heading is mostly pointing toward North. Display N on the micro:bit.
- If degrees are less than 135, the micro:bit is mostly pointing East. Display E on the micro:bit.
- If degrees are less than 225, the micro:bit is mostly pointing South. Display S on the micro:bit.
- If none of these conditions returned true, then the micro:bit must be pointing West. Display W on the micro:bit.
Leave A Comment Cancel reply