
Tinker Education students use creativity, communication, and artistic skills to express themselves.
In the STEAM program, i:Block students enjoy using everyday materials to create beautiful pieces of Art.
The process is fun and very easy to do.
Let’s check out how these young i:Block 1 students went about making a painting using marbles.
Step 1: Brain Teaser
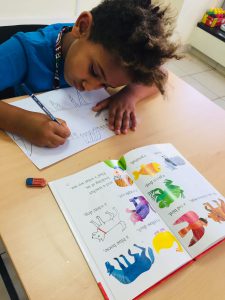
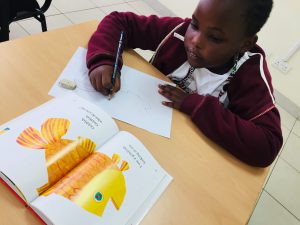
As Tinker Education’s standard, the class starts with a brain teaser activity.
Students read a book of their choice from our guided reading library.
In the storybook, students choose an image they like and draw it on paper.
This allows students to practice their drawing techniques while free sketching.
Step 2: Preparation
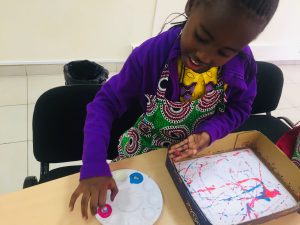
On a paint dish, students pour the paint colours of their choice.
They then place their piece of paper inside a carton box so that the marble can roll around in it.
They also prepare water in a cup to rinse their marbles for layering paint colours.
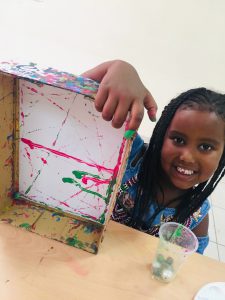
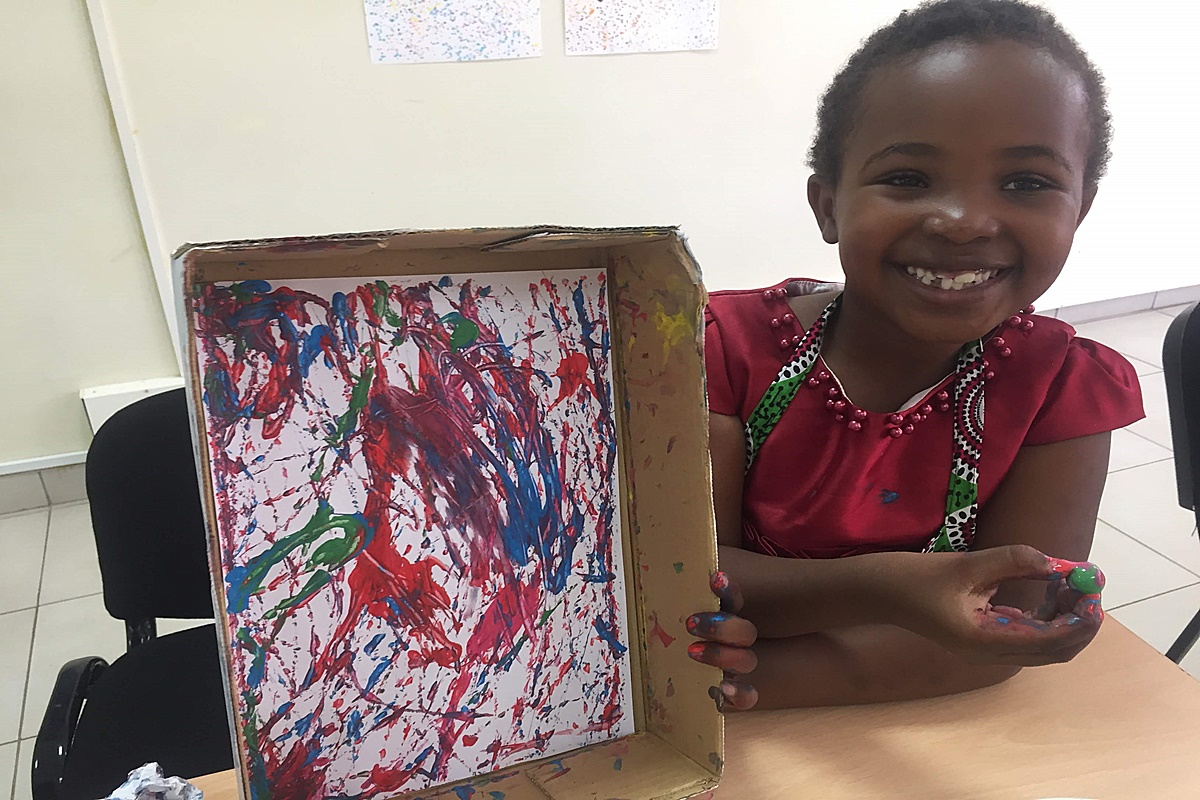
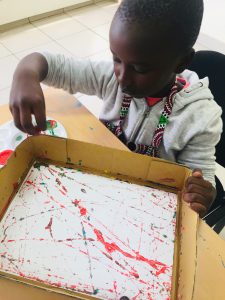
Step 3: Dip your marbles in paint
Students transfer of the paint-covered marbles into the carton box to make a pattern on the piece of paper.
It does not matter how many marbles they put at a time. In fact, the more the merrier 🙂
Step 4: Roll your marbles on paper
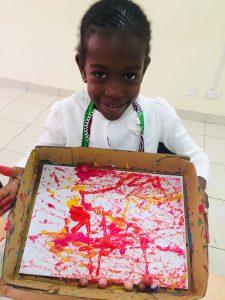
Finally, students roll their marbles by tilting the carton!
This in result creates beautiful and unique patterns.
The tilting can be done as many times as possible or just a few times.
Here’s a video of Sean doing his marble drawing.
What do you think? Doesn’t that make you want to give it a try?
Leave A Comment